There’s lots of talk, with “the way things are” of people wondering how to start a community garden. Community gardens have the potential to combine the time, space, and effort of a variety of people into something that none of them could manage on their own, and churches are uniquely positioned to offer this as a ministry.
Whether you’re a church, nonprofit, or community organization with enthusiastic volunteers and a little bit of green space, you can make a substantial impact with your own community garden effort. A community garden offers a shared space for people to learn and grow (figuratively and literally) and create the kind of relationships that keep communities thriving. Keep reading to figure out both the how and the why to launch a community garden with your organization.
Why a Church Can Be One of the Best Places to Host a Community Garden
Churches often have three things a garden needs to thrive: purpose, land, and people. If you’ve ever attempted your own garden, you know that it can be a challenge to undertake all of the planning, physical activity, and maintenance on your own. Churches often have people who have different interests, and who are willing to step up in order to see the fruits of their labor come to life.
A garden is a way to be of service within the community
A vegetable garden gives a church a way to feed people without requiring an abundance of additional resources. For instance, my church does a wonderful food ministry, but it requires a massive push every month. We need volunteers to:
- Make an almost four-hour round-trip drive
- More volunteers to unload a box truck by hand
- Still more to pack boxes
- Someone (let’s be honest, me) to coordinate everyone
- And even more people to show up on distribution day to help people carry the boxes to their cars
Not to mention, we often receive “whatever is left” when we go pick up food. Of course, it’s nice to be able to acquire the food for free, but it means that we don’t have a lot of control over quality, we seldom get fresh food, and we’ve had a few instances of receiving things that were too out of date to hand out.
A community garden gives churches the opportunity to, instead of handing out whatever shows up, offer fresh produce that people can choose to grow, harvest, and use.
Many communities, including ours, deal with food insecurity, limited grocery options, or prices that make a variety of fruits and vegetables feel impossible. A church garden can help families have fresh options without having to stress their budget to get them.
Many churches already have the space and people to begin
A lot of churches already have outdoor spaces that sit mostly unused. Particularly here in the rural Midwest, most churches have a fairly substantial lawn or even vacant lots next to the building.
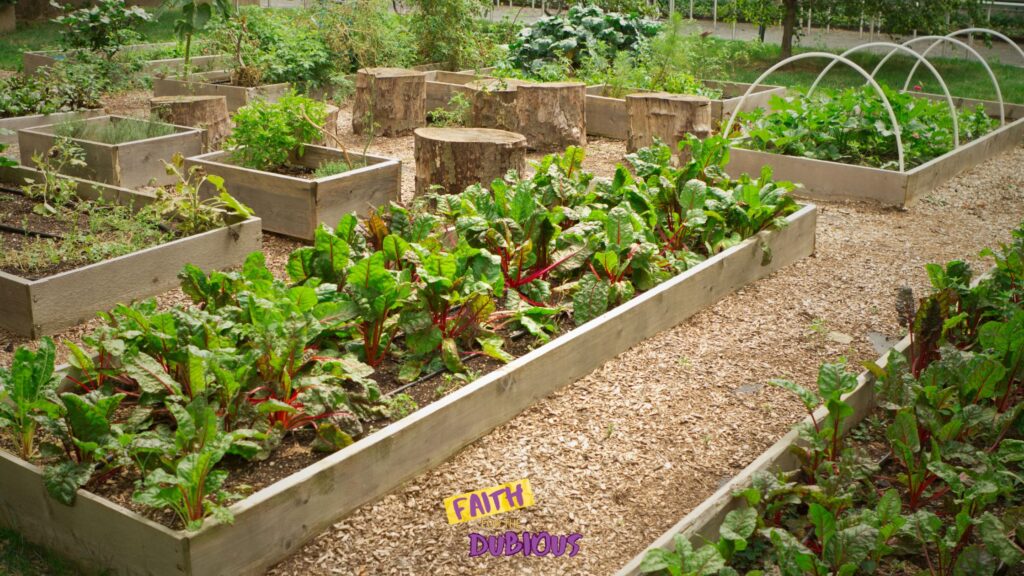
A specific garden area, planned well, can still support raised beds, compost piles, and/or a few fruit trees. Churches can still have plenty of room for community events, and a lawn, if they choose, and carving out even a small section for some raised garden areas can make a big difference.
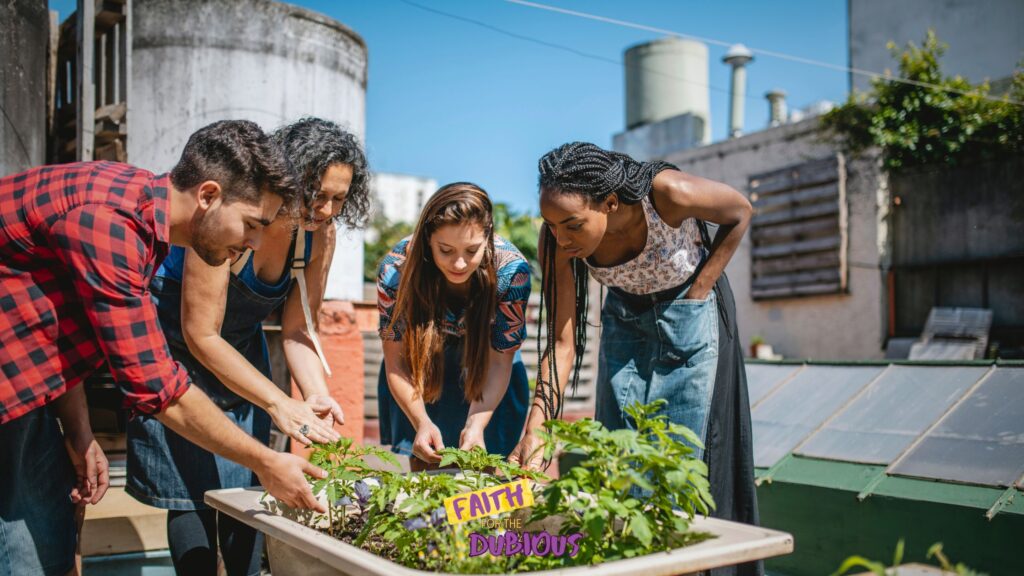
Just as important, churches often have built-in community members who can become fellow gardeners and garden volunteers. They also usually have a web page, contact form, and email address already in use. So when you need signups, contact information, or the ability to share volunteer opportunities, you don’t have to invent a system from scratch.
That mix makes launching so much easier. The church can host a garden that feeds people in the community and helps people grow their own food on plots of land that the church would otherwise be paying to maintain.
Start With a Simple Community Garden Plan Before You Break Ground
Before anyone grabs a shovel, decide what you’re building, why, and for whom. A rushed garden often becomes a patchwork of big hopes, weak systems, and dead cucumbers by July. (Not to mention bickering by people on the exact “right” way to do things!)
Choose the right site, test the soil, and plan your layout
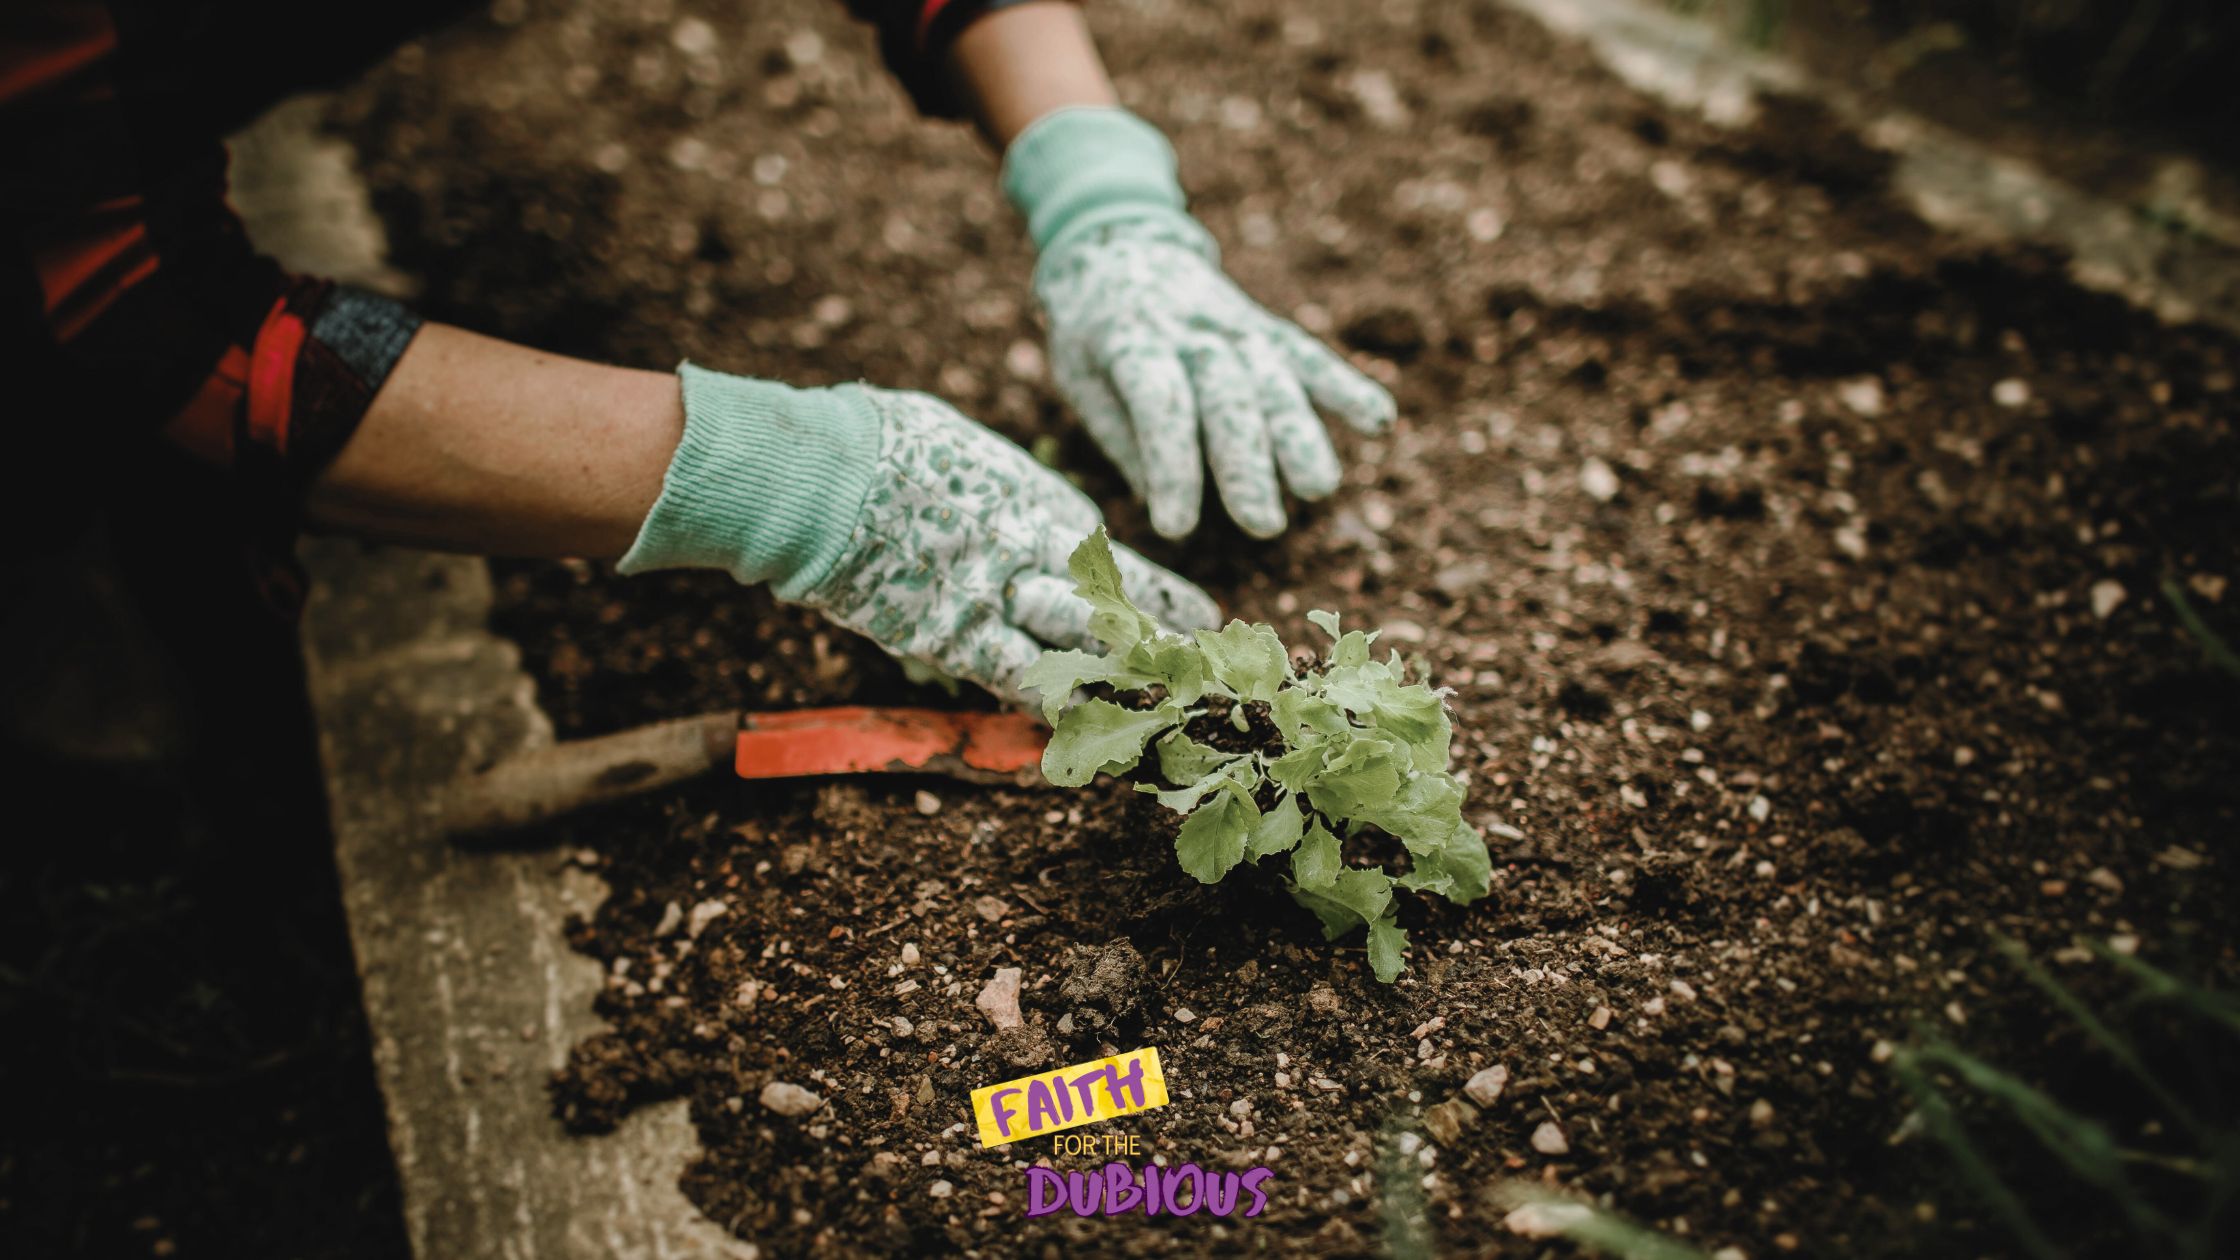
Depending on what you choose to grow, your site will most likely need a good, sunny area. If you don’t have one, just look for plants that thrive in partial shade, like greens, carrots, radishes, and herbs.
Then check water access, drainage, and how you will set up the space. Good soil conditions matter, but so do things like access to water and garden tools. If volunteers have to drag hoses across a parking lot every week, that setup won’t last, and neither will their enthusiasm.
Test the soil before planting, especially if the site sits near old buildings, roads, or vacant lots. You need to know about lead and other hazardous materials. If the ground isn’t safe, use raised beds instead of in-ground growing. Then map every garden bed, path, and compost area before you build.
Also, think long-term. Native plants can help pollinators, while fruit trees can anchor the space for years. Count the square footage honestly, then decide how many garden plots or individual plots the site can really support.
If you want extra guidance, check local extension advice and the American Community Gardening Association. Still, keep your first layout simple. You can always add more garden beds later in the season, or even in another growing season.
Set clear goals, roles, and a basic budget
Decide what success looks like in the first garden season. Maybe it’s one shared harvest bed for donation. Perhaps it’s six garden plots for members and neighbors to each “adopt” and share with the community. Maybe it’s a hybrid model with one shared community garden plot and a few personal spaces. Maybe you decide that the entire garden is shared. Whatever you choose, make sure to outline the rules and roles clearly to avoid any misunderstandings later.
Then make a basic budget. Include lumber, soil, tools, seeds, mulch, water costs, fencing, and signs if needed. If you use membership fees for plot holders, keep them low and explain what they cover. You can also ask for donations of supplies or sponsor a bed.
Finally, assign roles early. Pick a garden leader, a backup, and one person for communication. If plots are limited, spell out whether spaces go by lottery or first-served basis. Clear decisions now prevent tension later.
How a Community Garden Works
Lots of people will be excited about a new project, which is great. Make sure that as you set up your garden structure and rules, you’re outlining expectations for the length of the season. It’s easy for weeds to get out of hand, well-meaning volunteers to fade into the woodwork over time, and one person ends up laboring all summer, while others only show up when it’s time to harvest.
Pick a garden model that fits your group
There are three common setups.
- Shared beds work well for small churches or outreach teams that want one harvest to do together.
- Individual plots fit groups where people want to grow their own food and manage their own choices.
- A hybrid system gives you both, shared beds for donation and personal beds for families.
If you’ve visited community garden sites in your city, you’ve probably seen all three. Some nearby plots may look tidy because one strong leader runs them. Others work because the structure is simple. A successful community garden often starts small and grows with the capacity of the people running it.
Write down your model and your community garden rules in plain language. Include who can plant, what they can plant, how watering works, what happens with weeds, and how harvest gets shared.
Share jobs in a way people can actually sustain
Especially if you’re going with a fully shared garden, rotate tasks so the work doesn’t pile onto one saintly volunteer who burns out by midsummer. Set up teams and a schedule for watering, weeding, composting, harvesting, and cleanup. Add backup helpers for vacation weeks and hot spells.
A simple signup sheet works. So does an online form sent through the church email address. Keep jobs visible, short, and realistic for busy people. You can also tie a few shifts to special events, work days, or seasonal garden teaching nights.
Most of all, let people join at different levels. Some garden volunteers will show up weekly. Others can help with mulch, tool repair, or a big Saturday cleanup. It takes all levels of volunteers to make it happen.
Specific Steps to Launch Your Garden From Idea to Planting Day
Now for the part people actually need, the path from “we should do this” to “the cucumbers are in.”
Gather support, choose leaders, and make a simple timeline
Start with interest. Ask community members, church staff, and neighbors, “Who wants to help, grow, or receive food?” Make sure that you collect contact information of anyone who is interested. Social media can be unreliable, at best, at getting word out, and you want to make sure you have a direct line to people who are interested.
Then hold a planning meeting. In that meeting, choose a garden leader(s), confirm the site, and set dates for prep, planting, and harvest across the growing season. Some of the planting and harvest dates may need to be flexible, but having something on the table to start will at least keep it front of mind for people. Keep the timeline plain:
- Gather interest and approvals (make sure to check to see if you need building permits!)
- Test soil and map beds
- Build beds and prep water access
- Set rules and sign people up
- Plant for the gardening season
- Schedule harvest, upkeep, and food distribution days, or a way to share the food locally
- Schedule an end-of-season giveaway and cleanup days
It may sound like a lot, but most of these things will naturally progress throughout the season. Having a timeline just ensures you’ve got your bases covered along the way.
Build the beds, set the rules, and plant for your climate
Once approval is set, build the space fast enough to keep momentum. Create each garden bed, mark paths, store tools, and post the rules where people can see them. Keep the rules short. Include watering turns, weed standards, harvest expectations, and what to do with diseased plants.
Next, make sure to plant for your climate and your garden season, not for wishful thinking. Seasonal garden planning matters because the growing season drives everything. Cool-weather greens, beans, herbs, tomatoes, squash, and peppers are common picks, but only if they fit your timing.
Also, leave room for native plants, pollinators, and one or two easy staples people will actually use. A beautiful garden is nice, but the point of this is to feed people in the community.
Dos and Don’ts That Help a Community Garden Last
A garden is a lot like a shared kitchen. If nobody labels anything, wipes things down, or fixes small problems, the whole place gets annoying fast.
Do keep rules simple, communication clear, and jobs visible
Post a basic schedule for watering, work days, and harvest. Then repeat it often on the church web page, through social media posts, or by email. While it may be front-of-mind for your most active volunteers or project leaders, it’s not going to be for everyone, so make sure you’re doing everything possible to keep them in the loop!
Clear communication helps fellow gardeners stay engaged. So does naming who to contact when a hose breaks, pests show up, or a bed gets abandoned. Keep storage neat, label tools, and make it easy to get involved.
Don’t plant too much, ignore problems, or rely on one person
Don’t overbuild in year one. Too many beds create too much upkeep, especially if this is your first time attempting such a project. Don’t plant crops nobody wants, either. Extra kale or some turnips sound noble until they sit wilting in the community share bins until someone has to put them out of their misery.
Also, act fast when problems show up. Pull diseased plants, check compost piles, and inspect the irrigation system before a small issue becomes a season-long mess. If every decision goes through one person, the project gets brittle. Spread out the work early.
Make Sure the Community Garden Food Gets Used and Shared
Growing food is great, but it doesn’t become impactful until you get it into kitchens, pantry boxes, and meal tables while it’s still good. Have a system from the get-go for where and how you’ll make sure the food gets used.
Grow what people will actually take home and cook
Ask people what they use before planting. That one step can save a lot of waste. If families want tomatoes, peppers, onions, beans, potatoes, and herbs, start there. (And for most people, at least here in the Midwest, that’s exactly what they want!) Add a small variety of fruits and other vegetables after that.
Match crops to the season and keep amounts realistic. If you’re growing something as an additional “fun” crop, just plant a small section of it and save the bulk of the room for things people actually want and know how to cook.
Set up harvest, donation, and pickup systems early
Choose a distribution plan before the first harvest. You might use church pantry tables, free farm stands, shared harvest boxes, partner with a food pantry, or other meal ministries. You can also partner with local groups such as Food Not Bombs if the harvest runs bigger than expected.
Set pickup times, keep simple records, and decide who handles extra produce. Then, when the garden season gets busy, the food moves instead of sitting in the sun. That’s how the garden will make a difference to families who need fresh food instead of being cute fodder for social media.
Conclusion
Starting a community garden doesn’t require perfect land, expert growers, or a huge budget. It starts with one patch of outdoor space, a few committed people, and a plan that people can work through easily. So gather a small team, walk the property, and choose one first step for this growing season. A good community garden starts with a few committed people willing to serve others in the community.